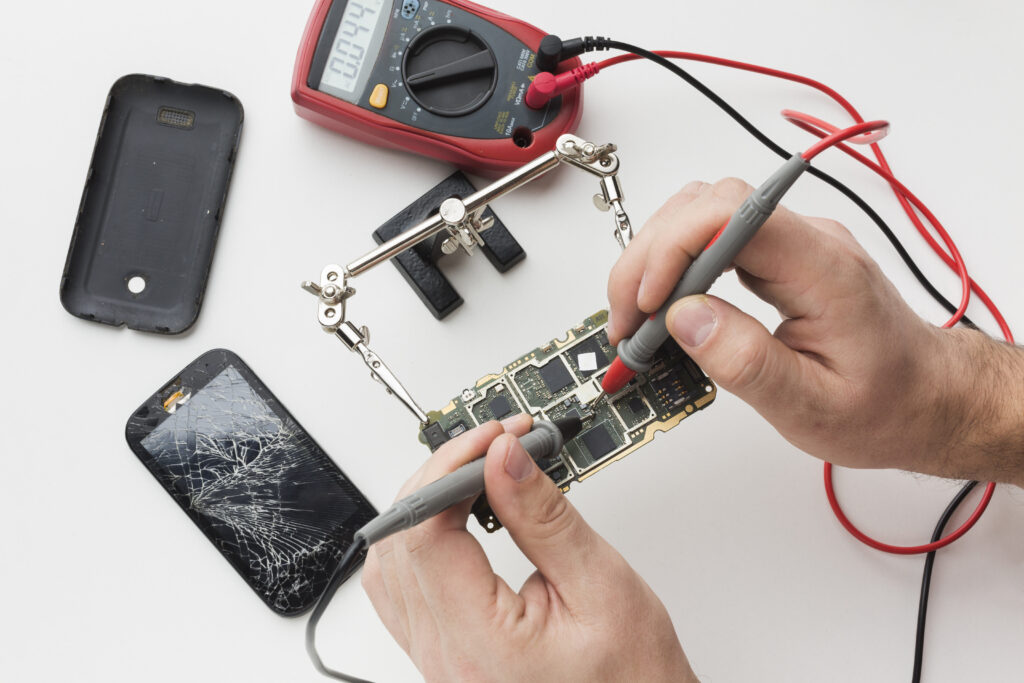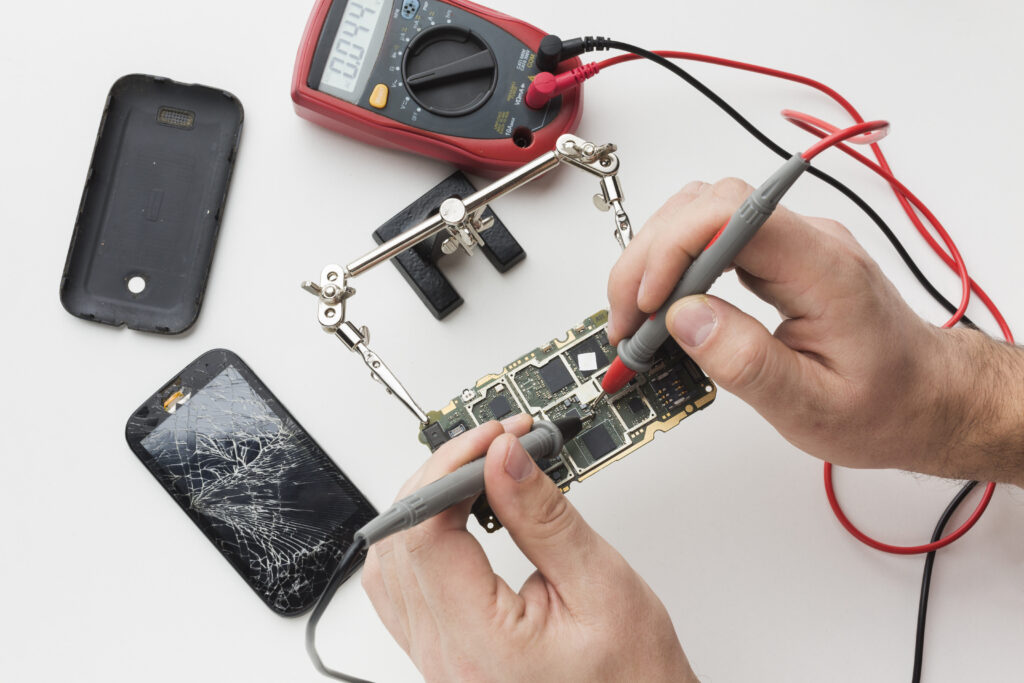
In today’s digital age, smartphones have become an indispensable part of our lives. We rely on them for communication, entertainment, productivity, and so much more. However, like any other electronic device, they are prone to malfunctions and damages. Whether it’s a cracked screen, a drained battery, or a malfunctioning camera, dealing with smartphone issues can be frustrating and expensive if you constantly seek professional help.
Fortunately, many common smartphone problems can be fixed with the right tools, knowledge, and a little patience. In this comprehensive guide, we’ll delve into the world of mobile repairing, equipping you with the skills and know-how to tackle various issues on your own. From basic troubleshooting to advanced repairs, let’s embark on a journey to master mobile repairs.
Understanding Common Smartphone Issues: Before diving into the repair process, it’s essential to identify the root cause of the problem. Some of the most prevalent smartphone issues include:
- Cracked Screens
- Battery Drainage
- Software Glitches
- Camera Malfunctions
- Charging Port Problems
- Speaker or Mic Issues
- Water Damage
Basic Tools and Equipment: To effectively repair a smartphone, you’ll need the right tools and equipment at your disposal. Here’s a list of basic tools that every aspiring mobile repair technician should have:
- Screwdrivers (Phillips and Torx)
- Spudger or Pry Tool
- Suction Cup
- Tweezers
- Isopropyl Alcohol and Cleaning Cloth
- Heat Gun or Hair Dryer
- Replacement Parts (Screen, Battery, Charging Port, etc.)
- Repair Manual or Online Guides
Step-by-Step Repair Guide: Now, let’s walk through a step-by-step repair process for one of the most common smartphone issues: a cracked screen.
Step 1: Prepare Your Workspace Find a clean, well-lit area to work on your smartphone repair. Lay down a soft cloth or towel to protect the screen and prevent any small parts from rolling away.
Step 2: Remove the Back Cover (if applicable) Some smartphones have removable back covers that grant access to the internal components. Use a pry tool or your fingernails to gently lift the back cover and set it aside.
Step 3: Unscrew and Remove the Screen Using the appropriate screwdriver, carefully remove the screws holding the screen in place. Once the screws are removed, use a pry tool to slowly separate the screen from the body of the phone. Take your time and be gentle to avoid damaging other components.
Step 4: Disconnect Cables and Components Inside the phone, you’ll find several cables connecting the screen to the motherboard. Carefully disconnect these cables using tweezers or your fingers. Take note of their positions to ensure proper reassembly later on.
Step 5: Replace the Screen Once the old screen is removed, carefully place the new screen in position and reconnect the cables. Double-check that everything is securely connected before proceeding.
Step 6: Reassemble the Phone Carefully reattach any other components you removed earlier, such as the back cover and screws. Make sure everything fits snugly and securely.
Step 7: Test the Phone Before fully securing the phone, power it on and test the new screen to ensure it functions properly. If everything looks good, proceed to reassemble the phone completely.
Step 8: Final Inspection Give your repaired smartphone a thorough once-over to ensure everything is in working order. Test all functions, including the touchscreen, buttons, and camera, to confirm that the repair was successful.
Conclusion: Congratulations! You’ve successfully repaired your smartphone’s cracked screen. By mastering basic mobile repair techniques, you can save time and money while extending the lifespan of your device. Remember to approach each repair with caution and patience, and don’t hesitate to seek professional help if you encounter any difficulties beyond your expertise. With practice and perseverance, you’ll become a proficient mobile repair technician in no time. Happy repairing!


