Introduction:
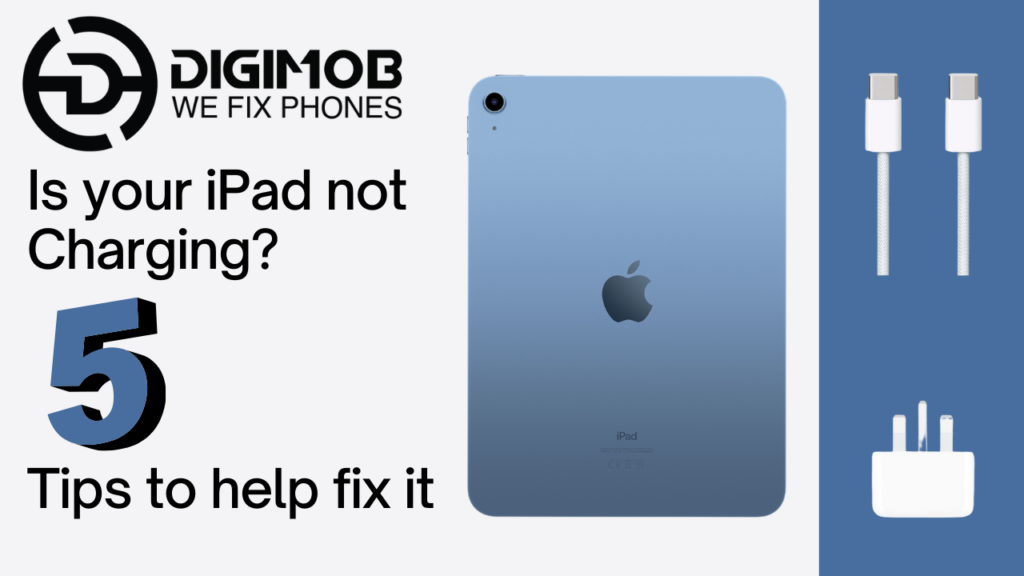
In the fast-paced world of technology, our reliance on devices like iPads has become more crucial than ever. So, when your iPad refuses to charge, it can be a frustrating experience. Fear not, as we’ve compiled a comprehensive guide with five valuable tips to help you troubleshoot and resolve the issue, ensuring your iPad is back up and running smoothly.

Tip 1: Inspect the Charging Cable and Adapter
The first step in resolving any charging issue is to examine the components involved in the process. Oftentimes, the culprit lies within the charging cable or adapter. Check for any visible damage, frayed wires, or bent connectors. If you spot any issues, it’s advisable to replace the faulty component with a certified Apple charger.
Tip 2: Clean the Charging Port
Over time, dust, lint, or debris can accumulate in your iPad’s charging port, hindering the connection between the cable and the device. To address this, power off your iPad and use a small, gentle tool like a wooden or plastic toothpick to carefully remove any debris from the charging port. Be cautious not to damage the port in the process. After cleaning, attempt to charge your iPad again.
Tip 3: Hard Reset Your iPad
Performing a hard reset can sometimes kickstart your iPad and resolve charging issues caused by software glitches. To do this on most iPad models:
- Press and hold the Home button (or the Volume Down button on iPads without a Home button) and the Power button simultaneously.
- Keep holding both buttons until you see the Apple logo appear on the screen.
- Release the buttons and allow the iPad to restart.
After the hard reset, attempt to charge your iPad once more and see if the issue persists.
Tip 4: Update iOS Software
Software glitches can contribute to charging problems, and keeping your iPad’s operating system up-to-date is crucial. Ensure you are running the latest iOS version by following these steps:
- Connect your iPad to a Wi-Fi network.
- Go to “Settings.”
- Select “General,” then tap “Software Update.”
- If an update is available, tap “Download and Install.”
After the update is complete, check if your iPad is now charging properly.
Tip 5: Perform a Factory Reset
If all else fails, a factory reset may be necessary to eliminate any persistent software issues. Before proceeding, it’s crucial to back up your data to avoid permanent loss. Once you’ve backed up your iPad, follow these steps to perform a factory reset:
- Open “Settings” on your iPad.
- Navigate to “General” and select “Reset.”
- Choose “Erase All Content and Settings.”
- Enter your passcode and confirm your decision.
After the factory reset, set up your iPad as a new device and attempt to charge it. If the problem persists, there may be an underlying hardware issue, and it’s recommended to contact Apple Support for further assistance.
Splash troubles? Dive into swift solutions with Digimob Mobile Repair! Locate your nearest Digimob location at www.digimob.com.au and connect with our expert team to promptly resolve any water-related issues. Your device’s lifeguard is just a click away!
Conclusion:
Encountering charging issues with your iPad can be a frustrating experience, but with these five troubleshooting tips, you can significantly increase your chances of resolving the issue on your own. By checking and replacing faulty cables, cleaning the charging port, performing a hard reset, updating the iOS software, and, if necessary, conducting a factory reset, you’ll be well-equipped to tackle the most common causes of iPad charging problems. Remember, if the issue persists, seeking professional assistance from Apple Support is the next logical step to ensure the long-term health of your device.


