Introduction:
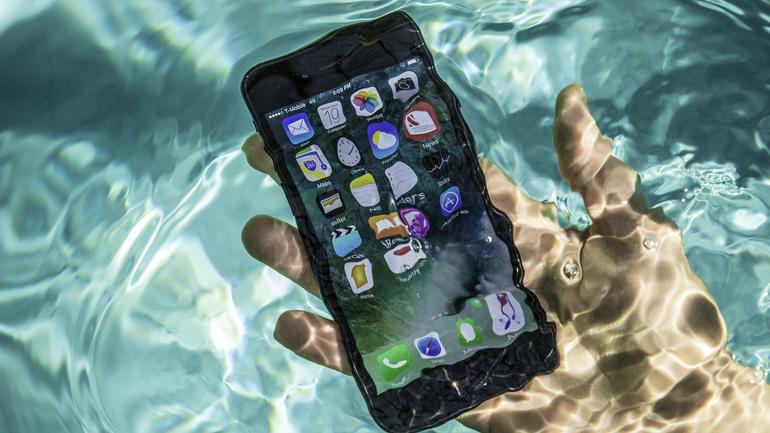
The sinking feeling when your phone takes an unexpected plunge into water is all too familiar for many smartphone users. Whether it slipped out of your pocket into the toilet or took a dip in the sink, water damage can render your phone unresponsive. However, all hope is not lost. With prompt action and the right techniques, you can often revive a waterlogged phone and bring it back to life. In this guide, we’ll walk you through the essential steps to fix a phone that won’t turn on after being submerged in water.
Step 1: Remove the Phone from Water Immediately
The first and most crucial step is to retrieve the phone from the water as quickly as possible. The longer it remains submerged, the higher the likelihood of irreparable damage. Act swiftly to minimize exposure to moisture.
Step 2: Power Off the Phone If your phone is still on after being submerged, power it off immediately. Do not attempt to use it or check if it’s still working, as this could cause short circuits and further damage.
Step 3: Remove External Accessories Remove any external accessories attached to the phone, such as cases, covers, or memory cards. This will allow better airflow and aid in the drying process.
Step 4: Dry the Exterior Gently pat the exterior of the phone with a clean, dry cloth to remove any visible water. Avoid shaking the phone, as this can spread water to internal components.
Step 5: Do Not Use Heat Contrary to popular belief, using heat sources such as hair dryers or microwaves to dry a wet phone can cause more harm than good. Heat can warp delicate components and accelerate corrosion. Avoid applying direct heat at all costs.
Step 6: Disassemble (If Possible) If you’re comfortable doing so and your phone’s design allows for it, consider disassembling the device to access its internal components. This can facilitate more thorough drying and inspection. However, if you’re unsure or uncomfortable with this step, it’s best to skip it and proceed with caution.
Step 7: Use Silica Gel or Rice Place the disassembled phone or the whole phone (if unable to disassemble) in a container filled with silica gel packets or uncooked rice. These desiccants will absorb moisture and help expedite the drying process. Leave the phone submerged in the desiccant for at least 24-48 hours.
Step 8: Monitor for Signs of Recovery After the drying period, reassemble the phone (if disassembled) and attempt to power it on. If the phone shows signs of life, such as vibrating or displaying indicators, proceed with caution. However, if it remains unresponsive, further steps may be necessary.
Step 9: Consider Professional Repair If your attempts to revive the phone prove unsuccessful, it may be time to seek professional assistance. Qualified technicians have the expertise and specialized equipment to assess the extent of the damage and perform repairs that may salvage your device.
Step 10: Backup Data (if possible) In cases where the phone cannot be revived, prioritize data recovery. If the device is recognized by a computer, attempt to back up any important data or files. This will prevent permanent loss and facilitate the transition to a new device.
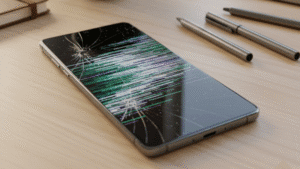
Learn More: Ultimate Guide: How to Swiftly Resolve iPhone 15 Back Glass Panel Cracking Issue with Precision
In this comprehensive guide, we’ll explore step-by-step solutions for fixing a phone that fell in the water and won’t turn on, helping you navigate this distressing situation with confidence.
Act Quickly and Retrieve the Phone:
The moment you realize your phone has fallen into the water, act swiftly. Retrieve the device from the water as soon as possible to minimize the extent of water damage. Every second counts in preventing irreversible harm to your phone’s internal components.
Power Off the Device:
If your phone is still turned on after being submerged in water, power it off immediately. Continuing to use the device while wet can cause short circuits and further damage. If the phone is unresponsive, do not attempt to turn it on. Proceed directly to the next step.
Remove External Accessories and SIM Card:
Remove any external accessories such as cases, covers, or screen protectors from the phone. Additionally, eject the SIM card tray and remove the SIM card from the device. This will facilitate better airflow and aid in the drying process.
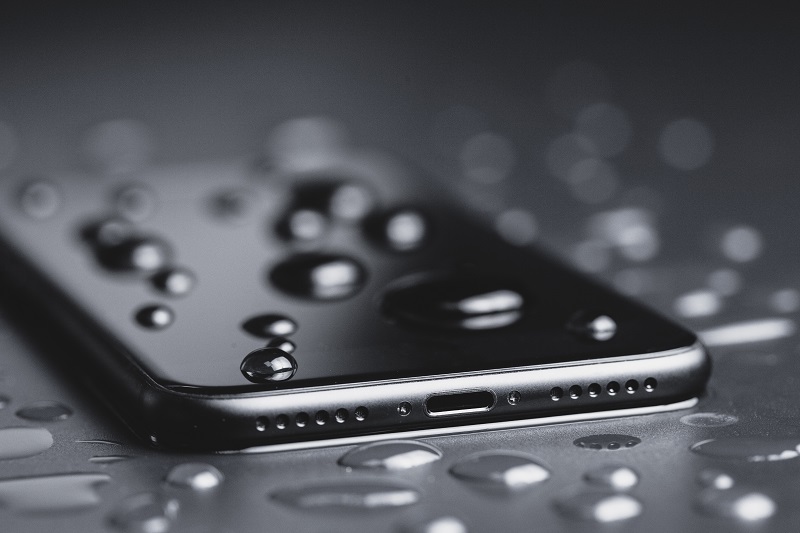
Dry the Phone:
Begin by gently shaking the phone to remove any excess water from its exterior. Avoid vigorous shaking, as this can force water deeper into the device. Next, use a soft, absorbent cloth or towel to pat the phone dry. Pay special attention to ports, buttons, and crevices where water may be trapped.
Use Desiccants or Rice:
Place the phone in a container filled with desiccant packets or uncooked rice. Desiccants such as silica gel or rice can help absorb moisture from the device over time. Seal the container and let the phone sit for at least 24 to 48 hours to allow for thorough drying.
Try the Rice Trick with Caution:
While the rice trick is a commonly recommended method for drying out wet phones, it may not be the most effective solution. Rice grains can potentially get lodged in ports or openings, causing more harm than good. If using rice, exercise caution and consider alternative drying methods if available.
Use a Vacuum Cleaner:
If your phone has been submerged in water with contaminants such as sand or dirt, using a vacuum cleaner may help remove debris from the device. Use a low-power setting and gently vacuum around the phone’s exterior, being careful not to make direct contact with the device.
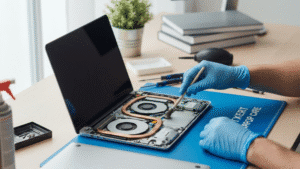
Seek Professional Repair Services:
If your phone still won’t turn on after attempting the above steps, it may require professional repair. Contact the manufacturer’s support service or visit a reputable phone repair shop for further diagnosis and repair. A trained technician can assess the extent of the damage and recommend appropriate solutions.
Tech tantrums? We’ve got the fix! ????️ laptops ????️ to iPhones ????, MacBooks ???? to iPads, Your one-stop solution for all things digital. From laptops to smartphones, we mend them all! ???? Visit digimob.com.au for swift and reliable repairs. ????
Conclusion:
While water damage can be a nightmare for smartphone users, swift action and careful handling can often mitigate the effects and restore functionality to your device. By following these essential steps, you can increase the chances of fixing a phone that fell in the water and won’t turn on. Remember to act quickly, avoid heat sources, and seek professional help if needed. With patience and perseverance, your phone may just make a miraculous recovery.
Frequently Asked Questions (FAQs)
1. Can I use a hairdryer to dry my phone? No, it’s not recommended to use a hairdryer or any other heat source to dry a water-damaged phone. Heat can cause more harm by potentially damaging delicate internal components. Instead, opt for gentle air drying or desiccants like silica gel or rice.
2. How long should I leave my phone in rice or silica gel for drying? Ideally, you should leave your phone submerged in rice or silica gel for at least 24-48 hours. This allows the desiccants to absorb as much moisture as possible from the device. However, if the phone doesn’t show signs of recovery after this period, seeking professional assistance may be necessary.
3. What should I do if my phone won’t turn on after being submerged in water? If your phone doesn’t turn on after being submerged in water, the first step is to remove it from the water immediately and power it off (if it’s still on). Then, follow the steps outlined in the guide, including drying the phone, removing external accessories, and using desiccants for moisture absorption. If the phone remains unresponsive, consider seeking professional repair services.
4. Will water damage void my phone’s warranty? Most phone warranties do not cover water damage, as it’s considered accidental damage rather than a manufacturing defect. Attempting to repair the phone yourself may also void the warranty. However, it’s always best to check the terms and conditions of your warranty or contact the manufacturer for clarification.
5. Can I prevent water damage in the future? While accidents can happen, there are steps you can take to minimize the risk of water damage to your phone. Invest in a waterproof phone case for added protection, avoid using your phone near water sources, and consider adding a water damage protection plan to your device insurance. Additionally, regularly backing up your data ensures that even if your phone is damaged, your important files and information are safe.