Introduction
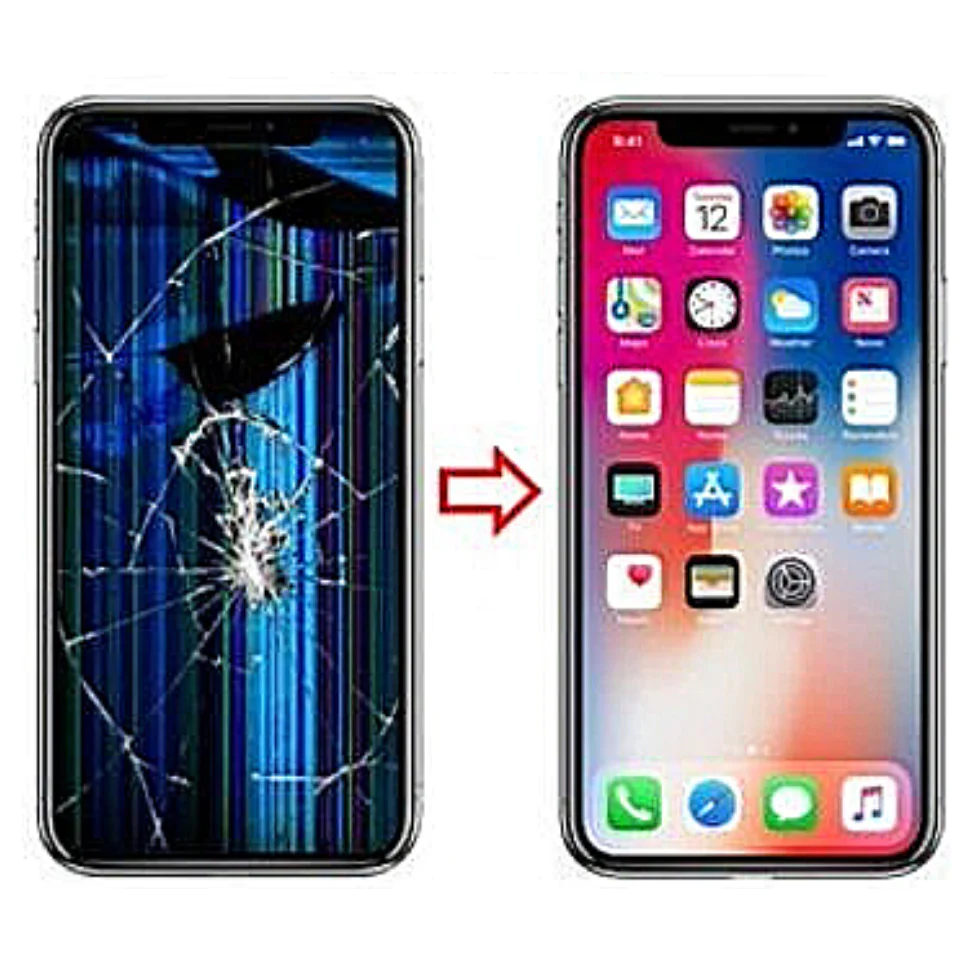
Dropping your iPhone and cracking the screen can feel like a mini disaster. But don’t worry, with a bit of patience and the right tools, you can fix your iPhone screen yourself. In this comprehensive guide, we’ll walk you through the steps of replacing a damaged iPhone screen.
Understanding the Task
Before you start, understand that repairing your iPhone screen requires precision and patience. If you’re not comfortable with small electronics, consider seeking professional help.
Tools You’ll Need
- Replacement iPhone screen
- Screwdrivers (Pentalobe and Phillips)
- Spudger
- Tweezers
- Suction cup
- Opening tool or a thin blade
- Magnetic project mat (optional, but helpful for keeping screws organized)
Step 1: Power Down Your iPhone
Always start by powering down your iPhone to prevent any short circuits.
Step 2: Remove the Screws
Remove the two Pentalobe screws on either side of the charging port. Keep them safe, as you’ll need them later.
Step 3: Opening the iPhone
Attach the suction cup to the bottom half of the front screen. Pull up gently but firmly until there’s enough space to insert the opening tool. Slide the tool around the edges to release the screen from the body. Be cautious around the top side, as there are cables connecting the screen to the phone.
Step 4: Disconnecting the Cables
Open the iPhone like a book. There are several cables connecting the screen to the motherboard. Use the screwdriver to remove the metal cover protecting these connectors. With the spudger, gently disconnect the cables.
Step 5: Removing the Home Button and Front Camera
The new screen usually doesn’t come with a home button and front camera. Remove these from your old screen. Unscrew the parts holding them in place, carefully remove them, and transfer them to the new screen.
Step 6: Attaching the New Screen
Connect the home button and front camera to the new screen. Then, reconnect the cables to the motherboard. Make sure they snap in place securely.
Step 7: Closing the iPhone
Carefully align the top edge of the new screen with the body of your iPhone and snap the rest into place. Be gentle to avoid damaging the new screen.
Step 8: Reinsert the Screws
Put back the Pentalobe screws on either side of the charging port.
Step 9: Power On Your iPhone
Turn on your iPhone to test the new screen. Check the touch functionality and the home button.
Tips for Success
- Organize Your Workspace: Keep your workspace clean and organized. Losing screws or mixing them up can cause problems when reassembling.
- Be Gentle: The components inside your iPhone are delicate. Be gentle when handling the cables and connectors.
- Battery Caution: Avoid puncturing or damaging the battery.
- Quality Parts: Use high-quality replacement parts for a seamless repair.
- Take Your Time: Don’t rush the process. It’s better to spend a bit more time than to damage your iPhone further.
Conclusion
Repairing your iPhone screen yourself can be a rewarding experience. Not only does it save you money, but it also gives you a sense of accomplishment. Just remember to take your time, be organized, and handle your iPhone with care.