Introduction:
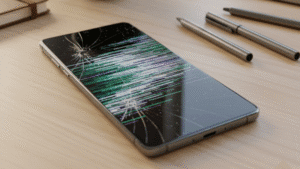
A cracked laptop screen can be a frustrating issue, hindering your ability to work or enjoy multimedia content. While replacing the screen is the most effective solution, it can be costly and time-consuming. Fortunately, there are DIY methods you can try to fix a cracked laptop screen without replacing it. In this guide, we’ll explore these solutions step-by-step, helping you restore functionality to your laptop screen and potentially save money on repairs.
Fixing a cracked laptop screen:
Before attempting any repairs, carefully assess the extent of the damage to your laptop screen. Determine whether the crack is superficial or if it has affected the display’s functionality. If the screen is still usable despite the crack, proceed with caution.
Apply Screen Protector Film:
A screen protector film can help contain minor cracks and prevent them from spreading further. Purchase a clear adhesive screen protector film designed for laptops and carefully apply it to the cracked area of the screen. Ensure that the screen is clean and free of dust or debris before applying the film to prevent air bubbles.
Use Clear Nail Polish or Glue:
For small cracks or chips in the screen, you can try filling them in with clear nail polish or adhesive glue. Apply a small amount of nail polish or glue to the crack and use a toothpick or fine brush to spread it evenly over the damaged area. Allow it to dry completely before using the laptop.
Apply DIY Screen Repair Kit:
DIY screen repair kits are available for purchase online and contain materials such as resin and curing lights to fill in cracks and restore the screen’s appearance. Follow the instructions provided with the kit carefully to apply the resin to the cracked area and use the curing light to harden it.

Connect External Monitor:
If the crack is extensive and renders the laptop screen unusable, you can connect an external monitor to continue using the laptop. Most laptops have ports for connecting external displays, such as HDMI or VGA. Simply connect the external monitor to the laptop and adjust the display settings as needed.
Consider Professional Repair:
If DIY methods fail to fix the cracked laptop screen or if the damage is severe, consider seeking professional repair services. A trained technician can assess the extent of the damage and recommend appropriate solutions, such as screen replacement or refurbishment.
Prevent Further Damage:
Once you’ve addressed the cracked laptop screen, take steps to prevent further damage in the future. Invest in a protective laptop sleeve or case to shield the device from impacts and accidents. Avoid placing heavy objects on top of the laptop and handle it with care to minimize the risk of future cracks.
Back-Up Your Data:
Since you’ll be working on your laptop, it’s essential to back up your data to prevent any loss in case of accidental damage during the repair process.
Gather Necessary Materials:
You’ll need a few items to attempt the repair, including:
Microfiber cloth
Clear adhesive tape or screen repair kit
Small suction cup (for removing the bezel)
Plastic pry tool or guitar pick
Screen cleaner solution (optional)
Prepare the Work Area:
Find a clean, well-lit workspace with ample room to lay out your laptop and tools. Make sure to work on a soft surface to prevent further damage to the screen.
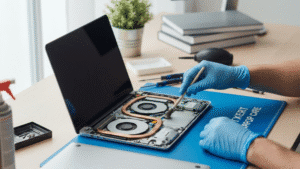
Remove the Bezel:
Use the suction cup to gently lift the cracked area of the screen. Insert the plastic pry tool or guitar pick between the bezel and the screen to carefully pry it away. Work your way around the edges until the bezel is completely detached.
Secure the Crack:
Once the bezel is removed, assess the crack again. If it’s stable and not spreading, you can use clear adhesive tape to secure it. Carefully apply the tape over the crack, ensuring it’s firmly in place without obstructing the display.
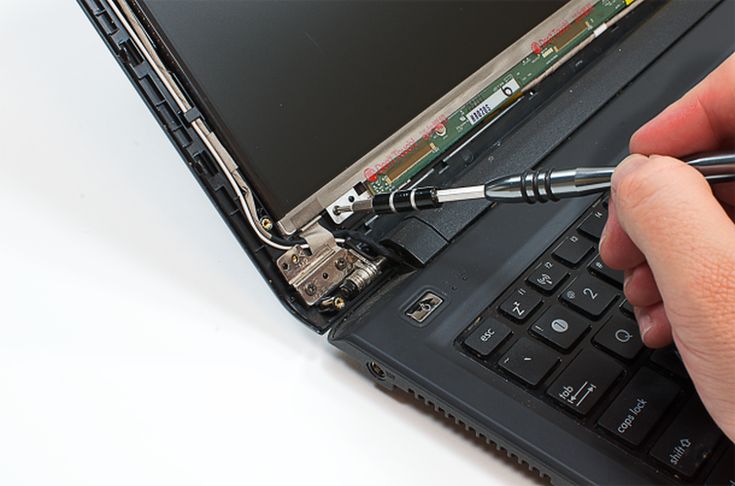
Reattach the Bezel:
After securing the crack, reattach the bezel by carefully snapping it back into place around the edges of the screen. Apply gentle pressure to ensure it’s properly seated.
Test the Screen:
Power on your laptop and test the screen to ensure it’s functioning correctly. Check for any areas of discoloration or distortion that may indicate further damage.
Clean the Screen:
If the repair is successful, use a microfiber cloth and screen cleaner solution to gently clean the screen and remove any fingerprints or smudges.
Monitor for Further Issues:
Keep an eye on the repaired area for any signs of worsening damage or issues with the screen’s functionality. If the crack spreads or causes display problems, you may need to consider professional repair or replacement.
Tech tantrums? We’ve got the fix! ????️ laptops ????️ to iPhones ????, MacBooks ???? to iPads, Your one-stop solution for all things digital. From laptops to smartphones, we mend them all! ???? Visit digimob.com.au for swift and reliable repairs. ????
Conclusion:
While a cracked laptop screen can be a frustrating issue, there are DIY solutions you can try to fix without replacing the entire screen. By assessing the damage, applying screen protector film, using clear nail polish or glue, applying a DIY screen repair kit, connecting an external monitor, and considering professional repair if necessary, you can potentially restore functionality to your laptop screen and prolong its lifespan. Remember to handle the laptop with care and take preventive measures to avoid future damage.
FAQs (Frequently Asked Questions)
- Can I fix a cracked laptop screen myself?
- Yes, it’s possible to attempt a DIY repair of a cracked laptop screen, but it depends on the severity and type of damage. Minor cracks or damage to the outer glass layer may be fixable with careful handling and the right tools.
- What tools and materials do I need for fixing a cracked laptop screen?
- You’ll typically need items like clear adhesive tape or a screen repair kit, a small suction cup, a plastic pry tool or guitar pick, and a microfiber cloth. These tools help in removing the bezel, securing the crack, and reattaching the bezel after repair.
- Will fixing the cracked screen affect my laptop’s warranty?
- Attempting a DIY repair on your laptop screen may void the warranty, especially if you damage the device further during the repair process. It’s advisable to check your warranty terms or consult with the manufacturer before proceeding with any repairs.
- How long will the repaired screen last?
- The durability of the repair depends on the extent of the damage and the quality of the repair job. If the crack is minor and properly secured, the repair could last for an extended period. However, there’s always a risk of the crack spreading or causing further issues over time.
- What should I do if the crack worsens or the screen stops functioning after repair?
- If the crack spreads or causes display problems after attempting a DIY repair, it’s best to seek professional assistance from a certified technician. Continuing to use the laptop with a worsening crack could lead to more extensive damage and potentially higher repair costs in the long run.