Introduction:
In today’s digital age, our smartphones are practically extensions of ourselves. They help us stay connected, productive, and entertained. However, one unfortunate drop can result in a cracked screen, leaving us feeling frustrated and disconnected. But fear not! With the right tools and techniques, fixing a cracked screen is easier than you might think. In this guide, we’ll walk you through the essential tools and techniques used by mobile repair experts to restore your device to its former glory.
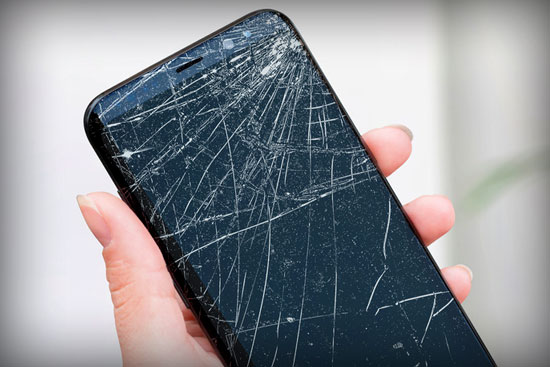
Understanding the Damage:
Before diving into the repair process, it’s crucial to assess the extent of the damage. Is it a minor crack or a full-on shattered screen? Take note of any other issues such as touchscreen responsiveness or display abnormalities.
Essential Tools:
a. Replacement Screen: The most important tool is the replacement screen itself. Make sure to purchase a high-quality screen compatible with your device model.
b. Screwdriver Set: A precision screwdriver set is essential for disassembling your device and accessing the internal components.
c. Spudger Tool: This handy tool helps pry open the device without damaging the delicate components inside.
d. Tweezers: Fine-tipped tweezers are useful for handling small screws and components during the repair process.
e. Adhesive Strips: To secure the new screen in place, adhesive strips or adhesive glue are necessary.
f. Heat Gun or Hair Dryer: Applying heat helps soften the adhesive securing the screen, making it easier to remove.
Preparing for Repair:
a. Power Off the Device: Before starting the repair, power off your device to avoid any potential damage.
b. Gather Tools and Workspace: Set up a clean and well-lit workspace with all the necessary tools within reach.
c. Backup Data: As a precautionary measure, back up any important data stored on your device to prevent loss during the repair process.
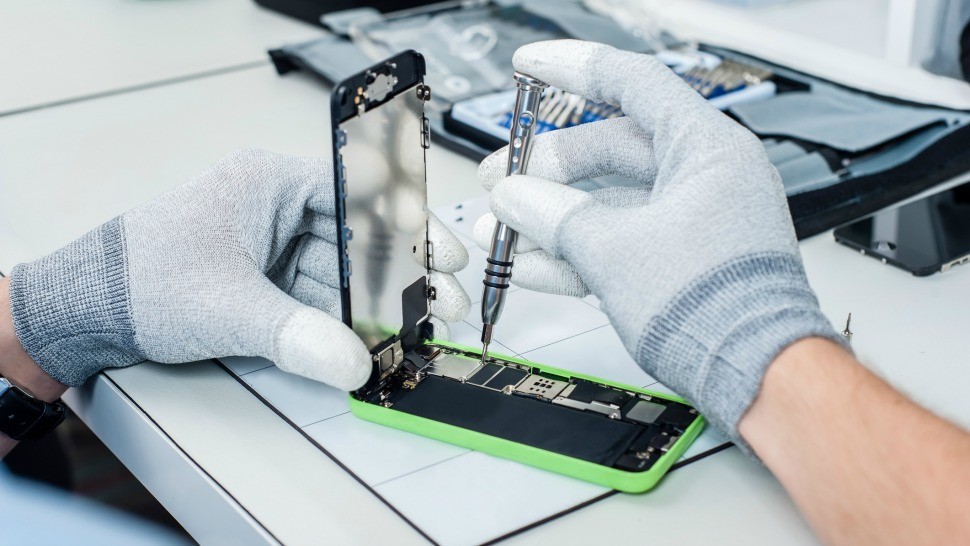
Step-by-Step Repair Process:
a. Remove the Screws: Using the appropriate screwdriver, carefully remove the screws securing the device’s back cover.
b. Disassemble the Device: Use a spudger tool to gently pry open the device, starting from the edges and working your way around.
c. Disconnect Components: Once the device is open, carefully disconnect the cables and connectors attaching the screen to the motherboard.
d. Remove the Cracked Screen: Apply heat to the edges of the screen using a heat gun or hair dryer to soften the adhesive. Then, slowly and carefully lift the cracked screen away from the device.
e. Install the Replacement Screen: Position the new screen in place and reattach the cables and connectors.
f. Secure the Screen: Use adhesive strips or adhesive glue to secure the new screen in place.
g. Reassemble the Device: Carefully reassemble the device, ensuring all screws are securely tightened and all components are properly connected.
h. Power On and Test: Once reassembled, power on the device and test the new screen to ensure it functions correctly.
Tips for Success:
a. Take Your Time: Repairing a cracked screen requires patience and precision. Rushing the process can lead to further damage.
b. Watch Tutorial Videos: If you’re unsure about any step of the repair process, there are plenty of tutorial videos available online that can guide you through each step.
c. Use Quality Replacement Parts: Opt for high-quality replacement parts to ensure the longevity and performance of your device.
d. Consider Professional Help: If you’re uncomfortable or inexperienced with repairing electronics, consider seeking professional assistance to avoid causing further damage.
Assessing Repairability:
Before embarking on the repair journey, it’s essential to evaluate whether the damage is repairable or if professional assistance is required.
Common Mistakes to Avoid:
Learn from the experiences of others by understanding the most common mistakes made during screen repair and how to avoid them.
Troubleshooting Tips:
Encounter an unexpected issue during the repair process? Explore troubleshooting tips to overcome challenges and ensure a successful outcome.
Exploring Advanced Techniques:
For those with a knack for DIY projects, delve into advanced techniques and tools that can elevate your screen repair skills to the next level.
Extending Screen Lifespan:
Discover practical tips and habits to extend the lifespan of your newly repaired screen and prevent future damage, ensuring long-term enjoyment of your device.
Do you have gadget glitches? No worries! 🛠️ From laptops 🖥️ to iPhones 📱, MacBooks 💻 to iPads, and even Samsung, Android phones, and all other major brands, we’ve got you covered! 💼 Our team offers swift and reliable repairs for all your digital needs. 🚀 Visit digimob.com.au today!
Conclusion:
With the right tools, techniques, and a bit of patience, fixing a cracked screen is a manageable task that can save you time and money compared to replacing the entire device. By following the steps outlined in this guide and exercising caution throughout the repair process, you can restore your smartphone to its former glory and get back to enjoying all its features and functionalities.