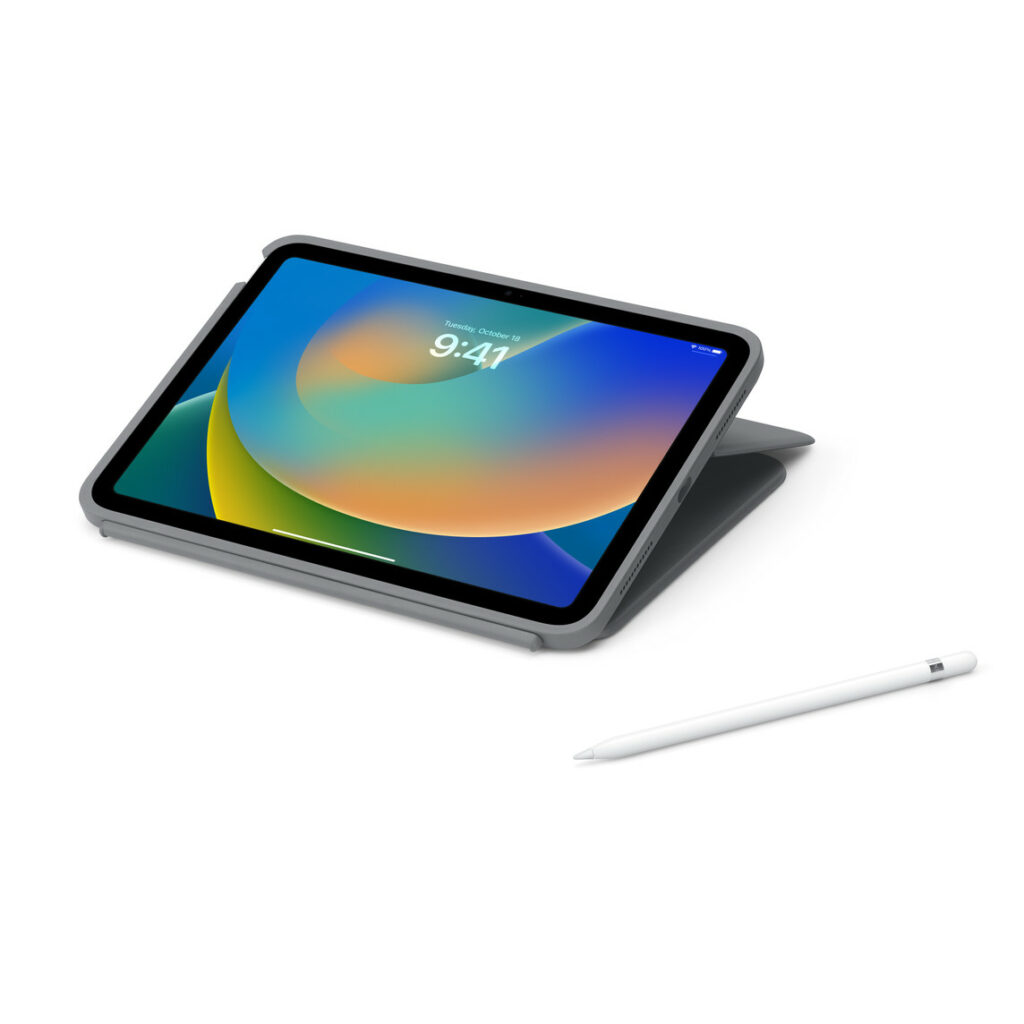
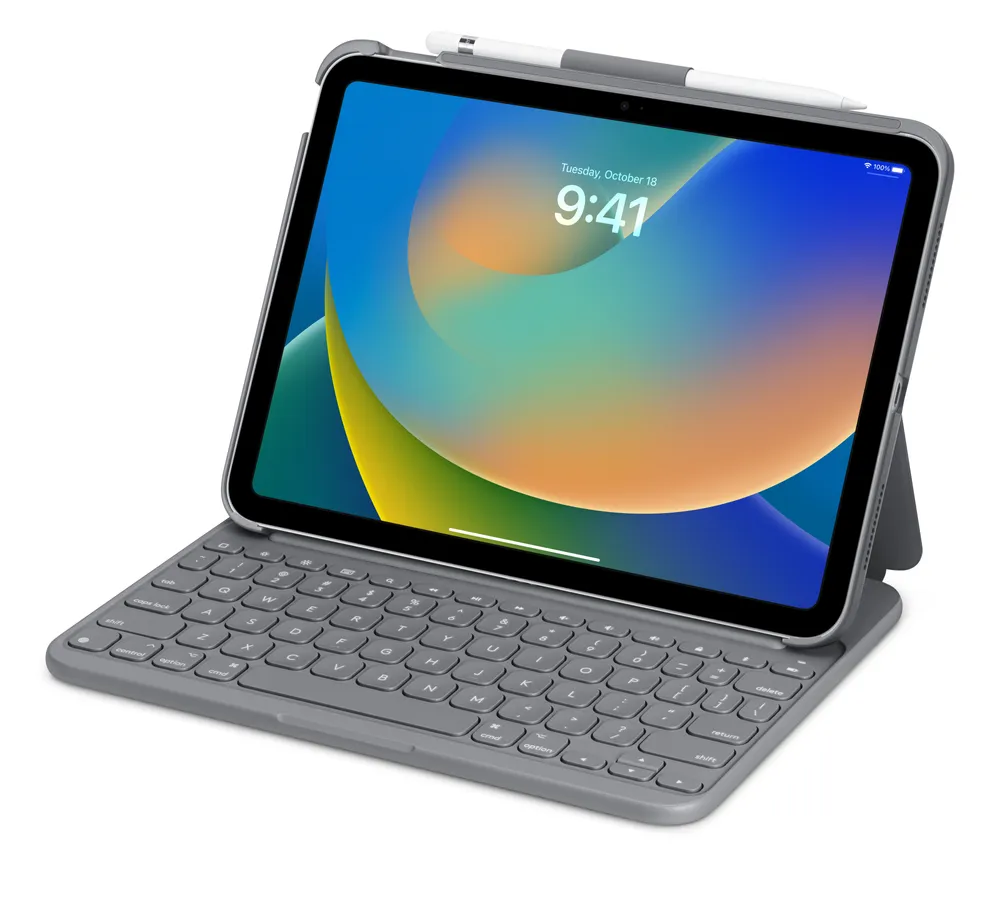
In today’s fast-paced digital age, productivity on the go is essential. Whether you’re a student, professional, or simply someone who loves to stay connected, having a reliable keyboard for your iPad can make a world of difference. The Slim Folio Keyboard is a popular choice among iPad users due to its sleek design and seamless functionality. In this comprehensive guide, we’ll walk you through the step-by-step process of connecting a Slim Folio Keyboard to your iPad, ensuring that you can maximize your productivity wherever you are.

1. Ensure Compatibility
Before you begin, it’s crucial to ensure that your Slim Folio Keyboard is compatible with your iPad model. Logitech, the manufacturer of Slim Folio Keyboards, provides compatibility information on their website. Make sure to check if your iPad model is listed as compatible with the specific Slim Folio Keyboard you own.
2. Prepare Your iPad
First things first, make sure your iPad is fully charged or connected to a power source to avoid any interruptions during the setup process. Additionally, ensure that your iPad’s operating system is up-to-date. To check for updates, go to Settings > General > Software Update.
3. Turn on the Slim Folio Keyboard
Press the power button on your Slim Folio Keyboard to turn it on. Most Slim Folio Keyboards have an LED indicator that will light up once the keyboard is powered on. If your keyboard has a switch to select the device mode (for example, iOS/Android), make sure it’s set to iOS.
4. Enable Bluetooth on Your iPad
Next, you’ll need to enable Bluetooth on your iPad to establish a connection with the Slim Folio Keyboard. To do this, go to Settings > Bluetooth, then toggle the Bluetooth switch to the ON position. Your iPad will start scanning for nearby Bluetooth devices.
5. Pairing Process
Once your Slim Folio Keyboard appears in the list of available devices on your iPad’s Bluetooth settings, tap on it to initiate the pairing process. You may be prompted to enter a pairing code on the keyboard. Follow the on-screen instructions to complete the pairing process. Once paired successfully, you’ll receive a notification on your iPad confirming the connection.
6. Test the Connection
After pairing, it’s essential to test the connection between your iPad and the Slim Folio Keyboard to ensure everything is functioning correctly. Open a text document or any app where you can input text, and start typing on the keyboard. You should see the text appearing on the screen as you type. If everything works as expected, congratulations – your Slim Folio Keyboard is successfully connected to your iPad!
7. Adjust Keyboard Settings (Optional)
Depending on your preferences, you may want to customize some keyboard settings on your iPad. You can adjust settings such as keyboard language, autocorrect, keyboard shortcuts, and more. To access keyboard settings, go to Settings > General > Keyboard on your iPad.
8. Enjoy Enhanced Productivity
Now that your Slim Folio Keyboard is connected to your iPad, you can enjoy enhanced productivity and efficiency in your tasks. Whether you’re typing emails, taking notes, or working on documents, the tactile feedback and ergonomic design of the Slim Folio Keyboard will make your typing experience smoother and more comfortable.
Troubleshooting Tips:
If you encounter any issues during the pairing process or while using the Slim Folio Keyboard with your iPad, here are some troubleshooting tips to help you resolve them:
- Make sure the keyboard is within range of your iPad (typically within 30 feet).
- Restart both your iPad and the Slim Folio Keyboard.
- Ensure that the keyboard’s battery is sufficiently charged.
- Unpair the keyboard from your iPad, then try pairing it again from scratch.
- If none of the above solutions work, consult the user manual provided with your Slim Folio Keyboard or contact the manufacturer’s customer support for further assistance.
In conclusion, connecting a Slim Folio Keyboard to your iPad is a straightforward process that can significantly enhance your productivity and user experience. By following the steps outlined in this guide and utilizing the troubleshooting tips if needed, you’ll be able to seamlessly integrate the keyboard into your workflow and enjoy typing on your iPad like never before.
Tech tantrums? We’ve got the fix! 🛠️ laptops 🖥️ to iPhones 📱, MacBooks 💻 to iPads, Your one-stop solution for all things digital. From laptops to smartphones, we mend them all! 💼 Visit digimob.com.au for swift and reliable repairs. 🚀
Learn more: 7 Practical Things to Do After Cracking Your Smartphone Screen

Frequently Asked Questions (FAQs)
1. Is the Slim Folio Keyboard compatible with all iPad models?
- The compatibility of the Slim Folio Keyboard varies depending on the specific model. It’s essential to check the manufacturer’s compatibility list to ensure that your iPad model is supported before purchasing or attempting to connect the keyboard.
2. How do I know if my Slim Folio Keyboard is in pairing mode?
- When you turn on your Slim Folio Keyboard, it typically enters pairing mode automatically. Look for an LED indicator light on the keyboard, which usually blinks to indicate that it’s ready to pair. Refer to the user manual for your specific model for precise instructions on entering pairing mode.
3. Can I connect the Slim Folio Keyboard to multiple devices simultaneously?
- Some Slim Folio Keyboards support multi-device pairing, allowing you to switch between multiple devices seamlessly. Check the product specifications or user manual to see if this feature is available for your keyboard model and follow the instructions provided for setting up multi-device pairing.
4. What should I do if my iPad doesn’t detect the Slim Folio Keyboard during the pairing process?
- If your iPad doesn’t detect the Slim Folio Keyboard during the pairing process, try the following troubleshooting steps:
- Ensure that the keyboard is turned on and in pairing mode.
- Make sure Bluetooth is enabled on your iPad and that it’s within range of the keyboard (typically within 30 feet).
- Restart both your iPad and the Slim Folio Keyboard.
- Unpair any previously connected devices and try pairing again from scratch.
- If the issue persists, consult the troubleshooting section of the user manual or contact the manufacturer’s customer support for assistance.
5. Can I customize the keyboard settings after connecting it to my iPad?
- Yes, you can customize various keyboard settings on your iPad even after connecting the Slim Folio Keyboard. Settings such as keyboard language, autocorrect, keyboard shortcuts, and more can be adjusted to suit your preferences. Navigate to Settings > General > Keyboard on your iPad to access and customize these settings.


